 English
 Español
 русский
 中文简体
中文简体
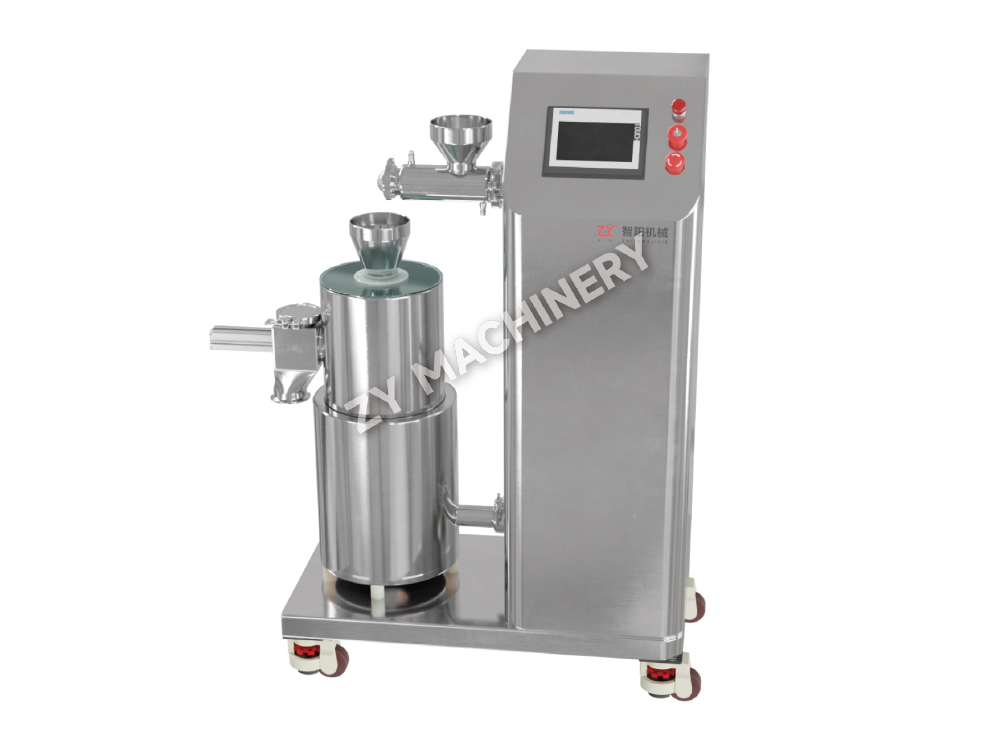
QD Automatic Bin Washing Machine
The QD Automatic Bin Washing Machine is designed for automated cleaning of .....

Content
In 2026, formulation scientists cite sample preparation throughput as their biggest daily bottleneck. A single content-uniformity batch done by hand can consume over 90 minutes. Benchtop sample creation addresses that pain point directly—it’s the practice of preparing testable, representative samples at laboratory scale using compact, tabletop instruments. The scope stretches from simple powder blending through wet granulation and drying, all the way to advanced analytical techniques like benchtop NMR and light-sheet microscopy.
This discipline isn’t confined to pharma. Food science teams use benchtop methods to prototype emulsions and baked-goods intermediates. Material scientists rely on desktop mixers and compact spray dryers to produce ceramic precursor powders. The unifying thread: produce a small amount of material—typically 10 g to 5 kg—that faithfully mirrors the properties of a full-scale production batch, so decisions about formulation, process parameters, and equipment are grounded in real data, not guesswork.
Whether you are validating a new wet granulation endpoint or screening polymorphs with a compact spectrometer, benchtop sample creation is the bridge between concept and pilot. Get it right, and you slash development timelines. Get it wrong, and scale-up surprises can cost months.
Benchtop hardware spans three broad families: mechanical process equipment, spectroscopic analyzers, and imaging systems. Mechanical tools—high-shear mixers, tumble blenders, mini fluid-bed dryers, and lab-scale granulators—dominate formulation work where physical transformation matters. Spectroscopic devices like benchtop NMR or compact Raman probes excel at compositional analysis without destroying the sample. Imaging platforms, such as open-source light-sheet microscopes, are built for large cleared tissues in neuroscience and developmental biology.
The table below compares typical systems across sample types, speed, and cost, so you can align the tool with the task instead of forcing one device to do everything.
| Device type | Typical sample form | Batch size | Prep time (per run) | Capital cost (USD) | Best downstream match |
|---|---|---|---|---|---|
| Multi-station mixer | Powders, granules | 0.5–5 kg | 5–12 min | 15,000–35,000 | HPLC, dissolution testing |
| Benchtop NMR spectrometer | Liquids, extracts | 0.6 mL tube | 2–30 min (scan) | 25,000–70,000 | Structure elucidation, purity assay |
| Light-sheet microscope (mesoSPIM) | Cleared tissue | Up to 20 mm cube | 30–90 min imaging | 35,000–90,000 (open-source build) | 3D histology, connectomics |
| Lab-scale wet granulator | Powder + binder | 1–3 kg | 8–20 min | 40,000–80,000 | Tablet press, roller compactor |
| Mini fluid-bed dryer | Granules | 1–5 kg | 15–45 min | 35,000–60,000 | Moisture analyzer, subsequent blending |
| Automated sample prep station | Vials, reagents | 0.1–2 mL | 3–8 min per sample | 20,000–45,000 | GC-MS, LC-MS |
Notice the trade-off: a multi-station mixer cuts content-uniformity sample prep 90% faster than manual work, but it won’t tell you anything about crystal form. A benchtop NMR gives that information yet can’t granulate a powder. The most efficient labs pair process equipment with an analytical tool, creating a benchtop work cell where each device does what it does best.
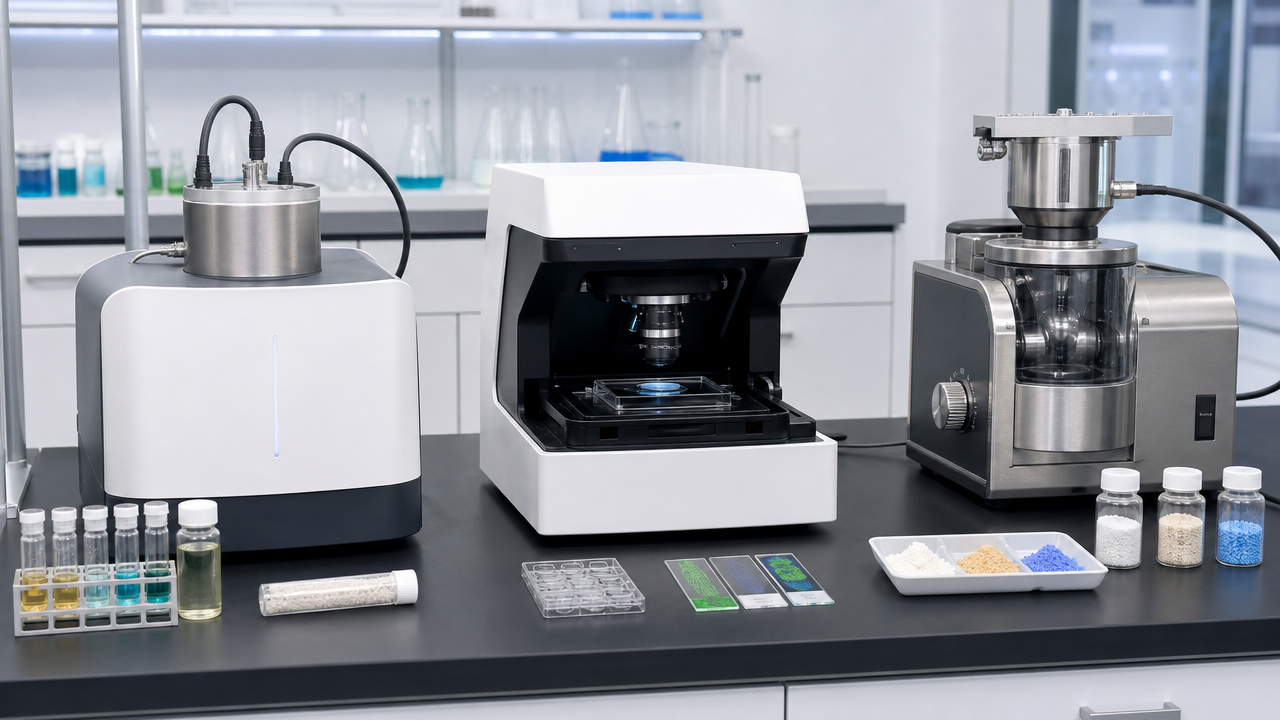
Decision-making starts with sample state and the question you need to answer. If the goal is a uniform powder blend for tablet compression, a mechanical mixer equipped with a validated blending protocol is non‑negotiable. If the target is rapid identity confirmation of a raw material, a compact TD‑NMR analyzer will deliver results in minutes without the need for lengthy sample dissolution.
A practical filter runs in three steps. First, classify the sample as powder, liquid, suspension, or biological tissue. Second, define the output: compositional data, physical uniformity, particle size, or microscopic structure. Third, match budget and throughput. For a QC lab running 30 content-uniformity assays per day, an automated stirring station with 10 individually powered positions pays back in under six months. For an R&D team that screens polymorphs weekly, a lab mixing equipment series docked next to a benchtop Raman spectrometer often yields the fastest insight.
When the challenge is preparing a placebo batch that mimics a high‑dose tablet, the benchtop blender’s fill level must match production shear within 5–10%. Failure to mimic that leads to misleading dissolution profiles. The table below gives a quick-look decision matrix.
| Sample type | Primary goal | Recommended equipment | Budget sensitivity |
|---|---|---|---|
| Dry powders | Blend uniformity | Multi-station lab mixer, bin blender | Medium |
| Wet mass | Granule formation | Lab-scale wet granulator | Higher |
| Liquid extracts | Chemical identity | Benchtop NMR or FT-IR | Medium to high |
| Cleared tissue | 3D morphology | Open-source light-sheet microscope | High (build or buy) |
| Viscous pastes | Homogeneity | Planetary centrifugal mixer | Low to medium |
No single system covers every application. The most productive benchtop workflows combine a dedicated preparation unit with a verification tool—one to make the sample, the other to prove it is correct.
Scale-up surprises almost always trace back to a parameter that wasn’t monitored on the bench. Take wet granulation: a 1 kg batch in a lab granulator might reach the desired endpoint in 6 minutes at 300 rpm. The same formulation at 200 kg, even after geometric scaling, often requires 12–14 minutes at 120 rpm. The discrepancy arises because powder bed compression, spray pattern, and heat dissipation change non‑linearly.
The table below captures five critical parameters and the typical scaling factor seen when moving from 1–5 kg benchtop batches to 100–500 kg production runs. Relative standard deviation (RSD) of the blend should stay below 5% at both scales, but achieving that demands deliberate adjustment of fill level and mixing intensity.
| Parameter | Benchtop value (1–5 kg) | Production value (100–500 kg) | Common deviation | Mitigation |
|---|---|---|---|---|
| Mixer rpm | 250–400 | 80–150 | ±15% if Froude number not matched | Scale by tip speed, not rpm |
| Wet massing time | 5–10 min | 12–20 min | Over‑granulation risk | Use torque rheology endpoint |
| Granulation liquid rate | 10–30 mL/min | 0.5–2 L/min | ±20% if droplet size differs | Maintain same L/S ratio and spray nozzle |
| Dryer inlet temperature | 40–60°C | 60–80°C | Over‑drying possible | Use LOD profiling and taper temperature |
| Blender fill level | 50–70% | V-blender: 50–60%; bin: 30–40% | ±25% RSD if over‑filled | Run blending uniformity (RSD) study at each scale |
For granulation-heavy processes, pairing a benchtop granulator with a production-size granulation equipment series and using identical impeller geometry simplifies scale‑up. When the impeller blade angle and bowl diameter ratio are maintained, wet massing time typically scales with the square root of the batch size, a far more predictable relationship than trial‑and‑error.
Highly potent active pharmaceutical ingredients (HPAPIs) with occupational exposure limits (OEL) at or below 1 µg/m³ force a different benchtop design philosophy. Open benchtop mixers and unvented granulators are simply not acceptable. Containment must be engineered in from the first gram of sample preparation.
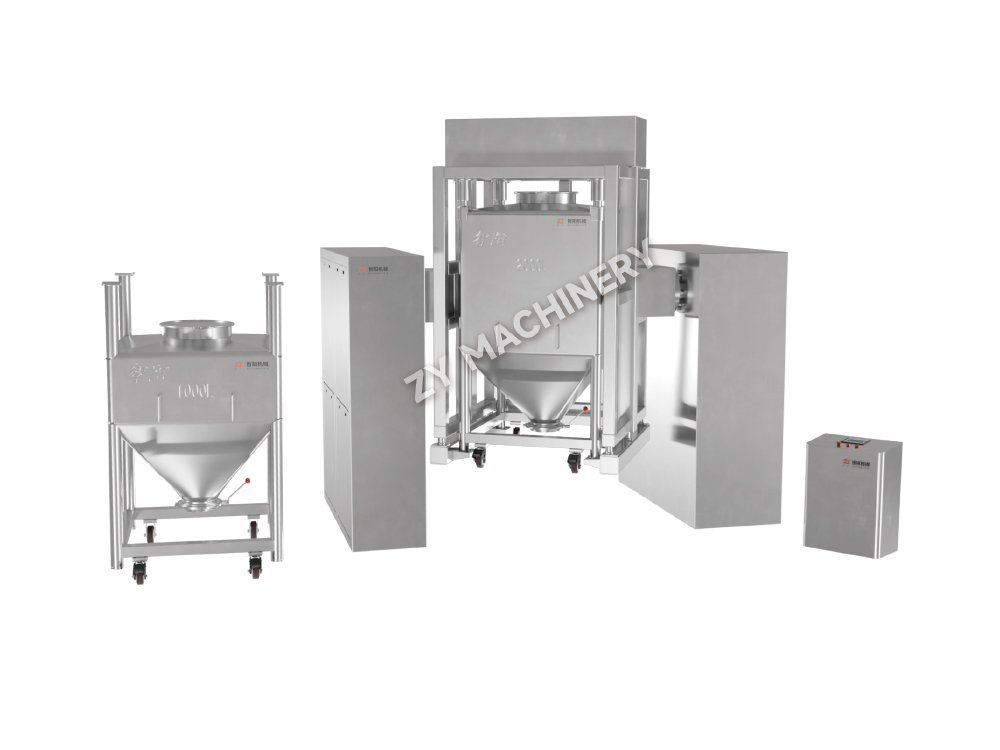
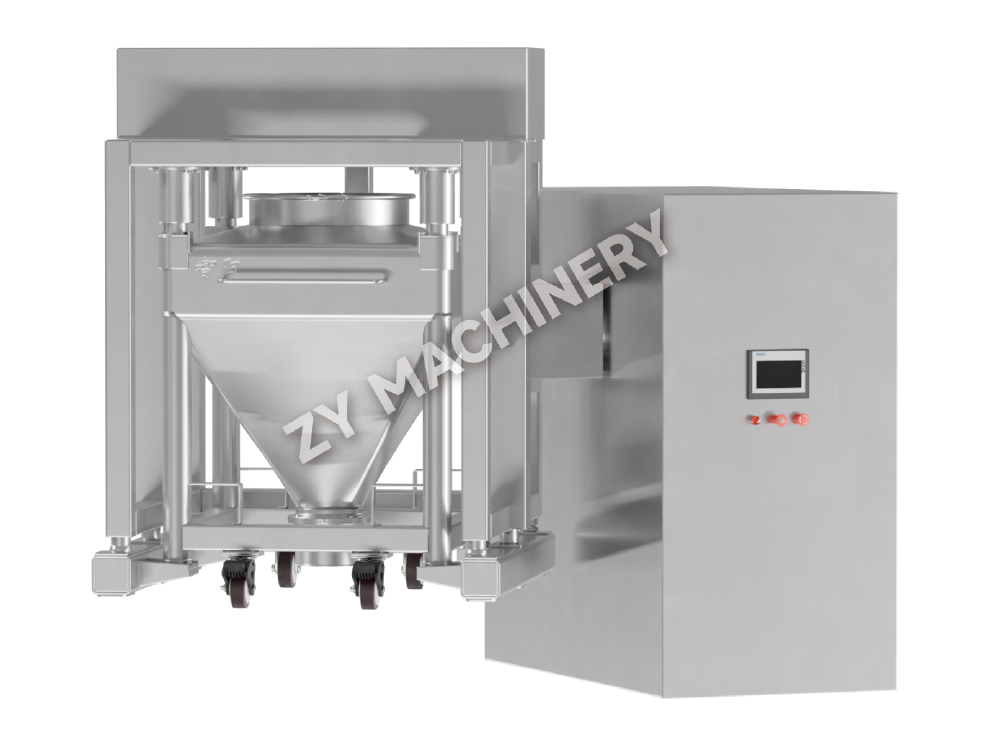
The core requirements: split‑valve docking for powder transfer, single‑use or CIP‑able contact surfaces, and negative‑pressure enclosures with HEPA filtration. Equipment should comply with ATEX/IECEx standards when solvents are involved, which demands explosion‑proof motors and conductive materials. A closed benchtop bin blender with a disposable liner can handle 0.5–5 kg batches while keeping operator exposure well below the OEL. For wet granulation inside a glovebox, a miniature high‑shear mixer with an integrated spray nozzle and wash‑in‑place capability is the pragmatic choice.
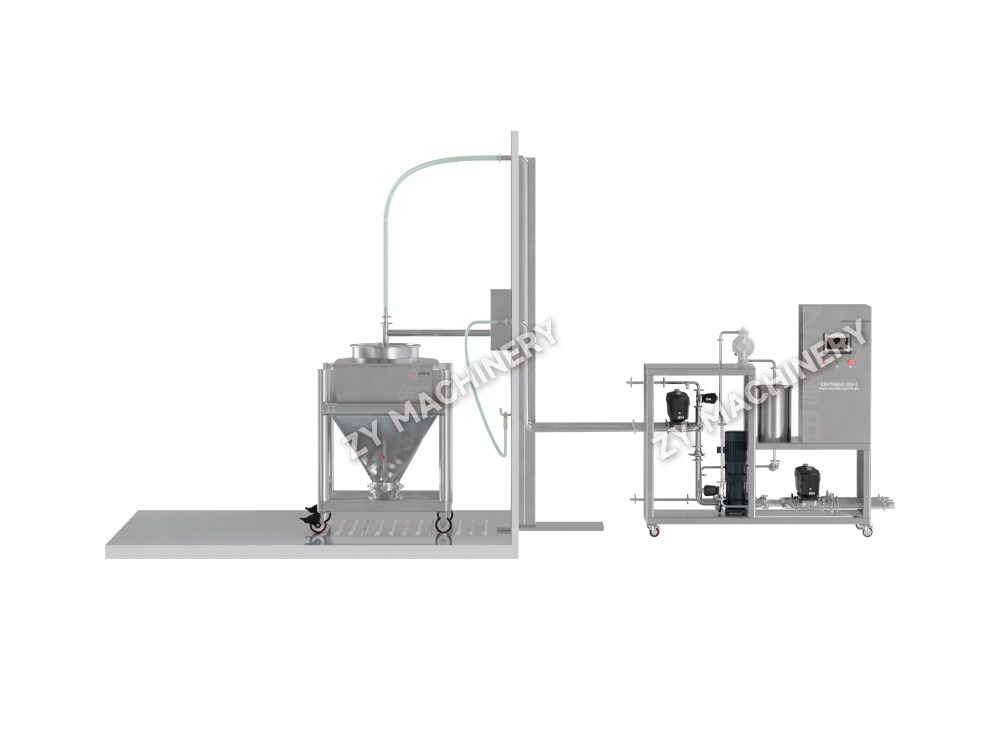
Selecting the right system means verifying three numbers: the achievable containment performance (typically OEL ≤ 0.1 µg/m³ for a closed lab system), the maximum allowable batch temperature (to protect heat‑sensitive compounds), and the cleaning validation recovery (≥80% for swab sampling). Many facilities now specify laboratory equipment with closed containment and CIP features right from the benchtop stage to avoid a costly re‑design during technology transfer.
Even experienced formulators can stumble. The table below compiles the five most frequent failure modes observed during audits of benchtop sample preparation workflows, along with root causes and proven countermeasures.
| Problem | Root cause | Solution |
|---|---|---|
| Blend RSD above 5% | Mixer speed too low or fill level incorrect | Increase rpm to match tip speed ≥ 1.5 m/s; fill to 50–60% of vessel volume |
| Over‑granulated, dense lumps | Liquid spray rate too fast; endpoint not defined | Use a peristaltic pump with calibrated flow; stop process at target torque rise |
| Cross‑contamination between batches | Inadequate manual cleaning or no CIP cycle | Implement validated CIP recipe; use dedicated product‑contact parts for high‑potency |
| Sample not representative of production | Benchtop blender geometry differs from production bin | Match impeller design and tip speed; run a V‑blender simulation with the same fill ratio |
| Scale‑up fails after successful benchtop trials | Lack of monitored intermediate critical quality attributes | Add LOD, particle size, and bulk density checkpoints at benchtop stage; log all parameters digitally |
Addressing these pitfalls usually requires no new capital—just tighter process discipline and the willingness to log more data on the bench. A simple digital timer and a torque‑sensing motor can eliminate most over‑granulation events.
A reliable benchtop workflow follows a five‑stage sequence. Define the critical quality attributes of the sample—blend uniformity, moisture content, particle size distribution—before choosing equipment. Select hardware that matches the sample state and containment needs, balancing speed against flexibility. Lock in process parameters with small‑scale DOE studies that capture the interplay between mixer speed, time, and temperature. Validate the result analytically using rapid methods like NIR or NMR, so you don’t wait hours for QA. Scale with parameters, not guesswork, and use the comparison data in this guide to anticipate the non‑linear shifts that inevitably occur.
Benchtop sample creation, done right, becomes the engine that drives faster development cycles and safer scale‑up. Evaluate the gaps in your current workflow, standardize the parameters that matter most, and invest in benchtop equipment that can grow with your pipeline.
Want to stay up to date?
Contact us via the email address below.
Don't worry about spam. We hate it too!
Mobile Client

Video Account
Phone:+86-15161130178
Tel:+86-519-88674267
Email:czzy188@163.com
Phone:+86-15161132798
Email:zy@zy-drying.com

WeChat ID

Copyright 2026 Changzhou Zhiyang Machinery Equipment Co., Ltd. All Rights Reserved  Oral Solid Dosage Equipment Manufacturer